Workflow Automation
n8n
Connect your n8n workflow to an internet search
Overview
We are actively working on creating a Linkup node for n8n. In the meantime, follow this tutorial to get contextual information from the internet.Configuration Steps
1
Open your n8n account and create a workflow
Go to Workflows > Create Workflows
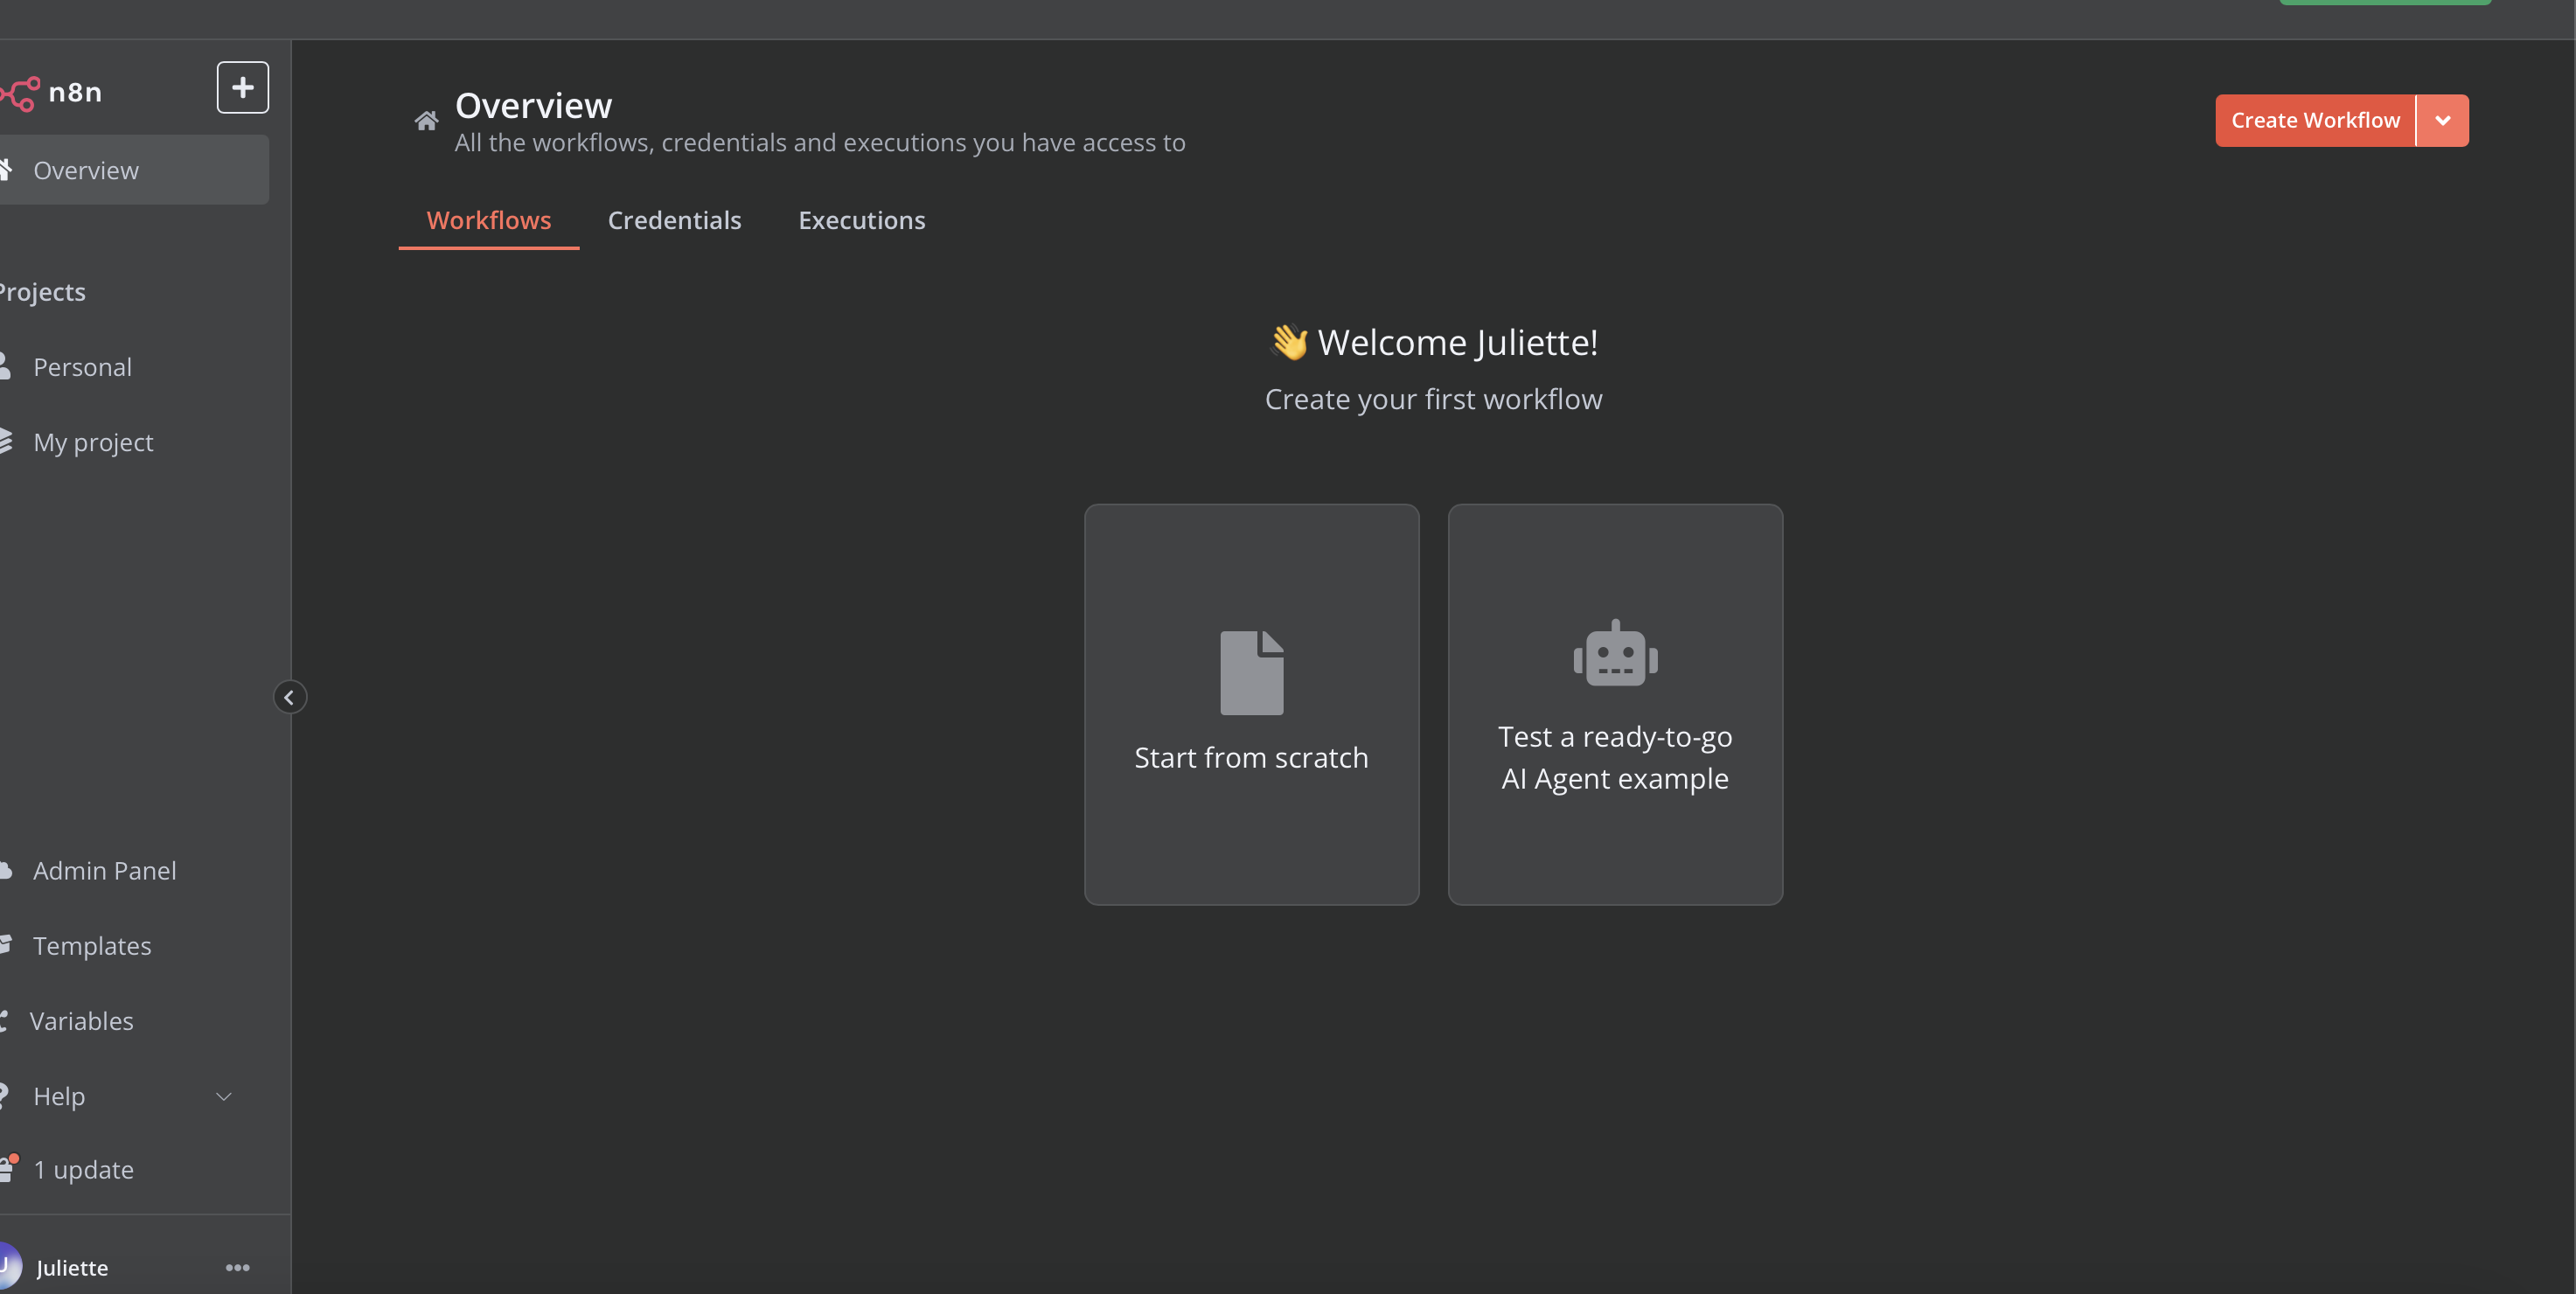

2
Add a trigger
Click on the + button to add a trigger
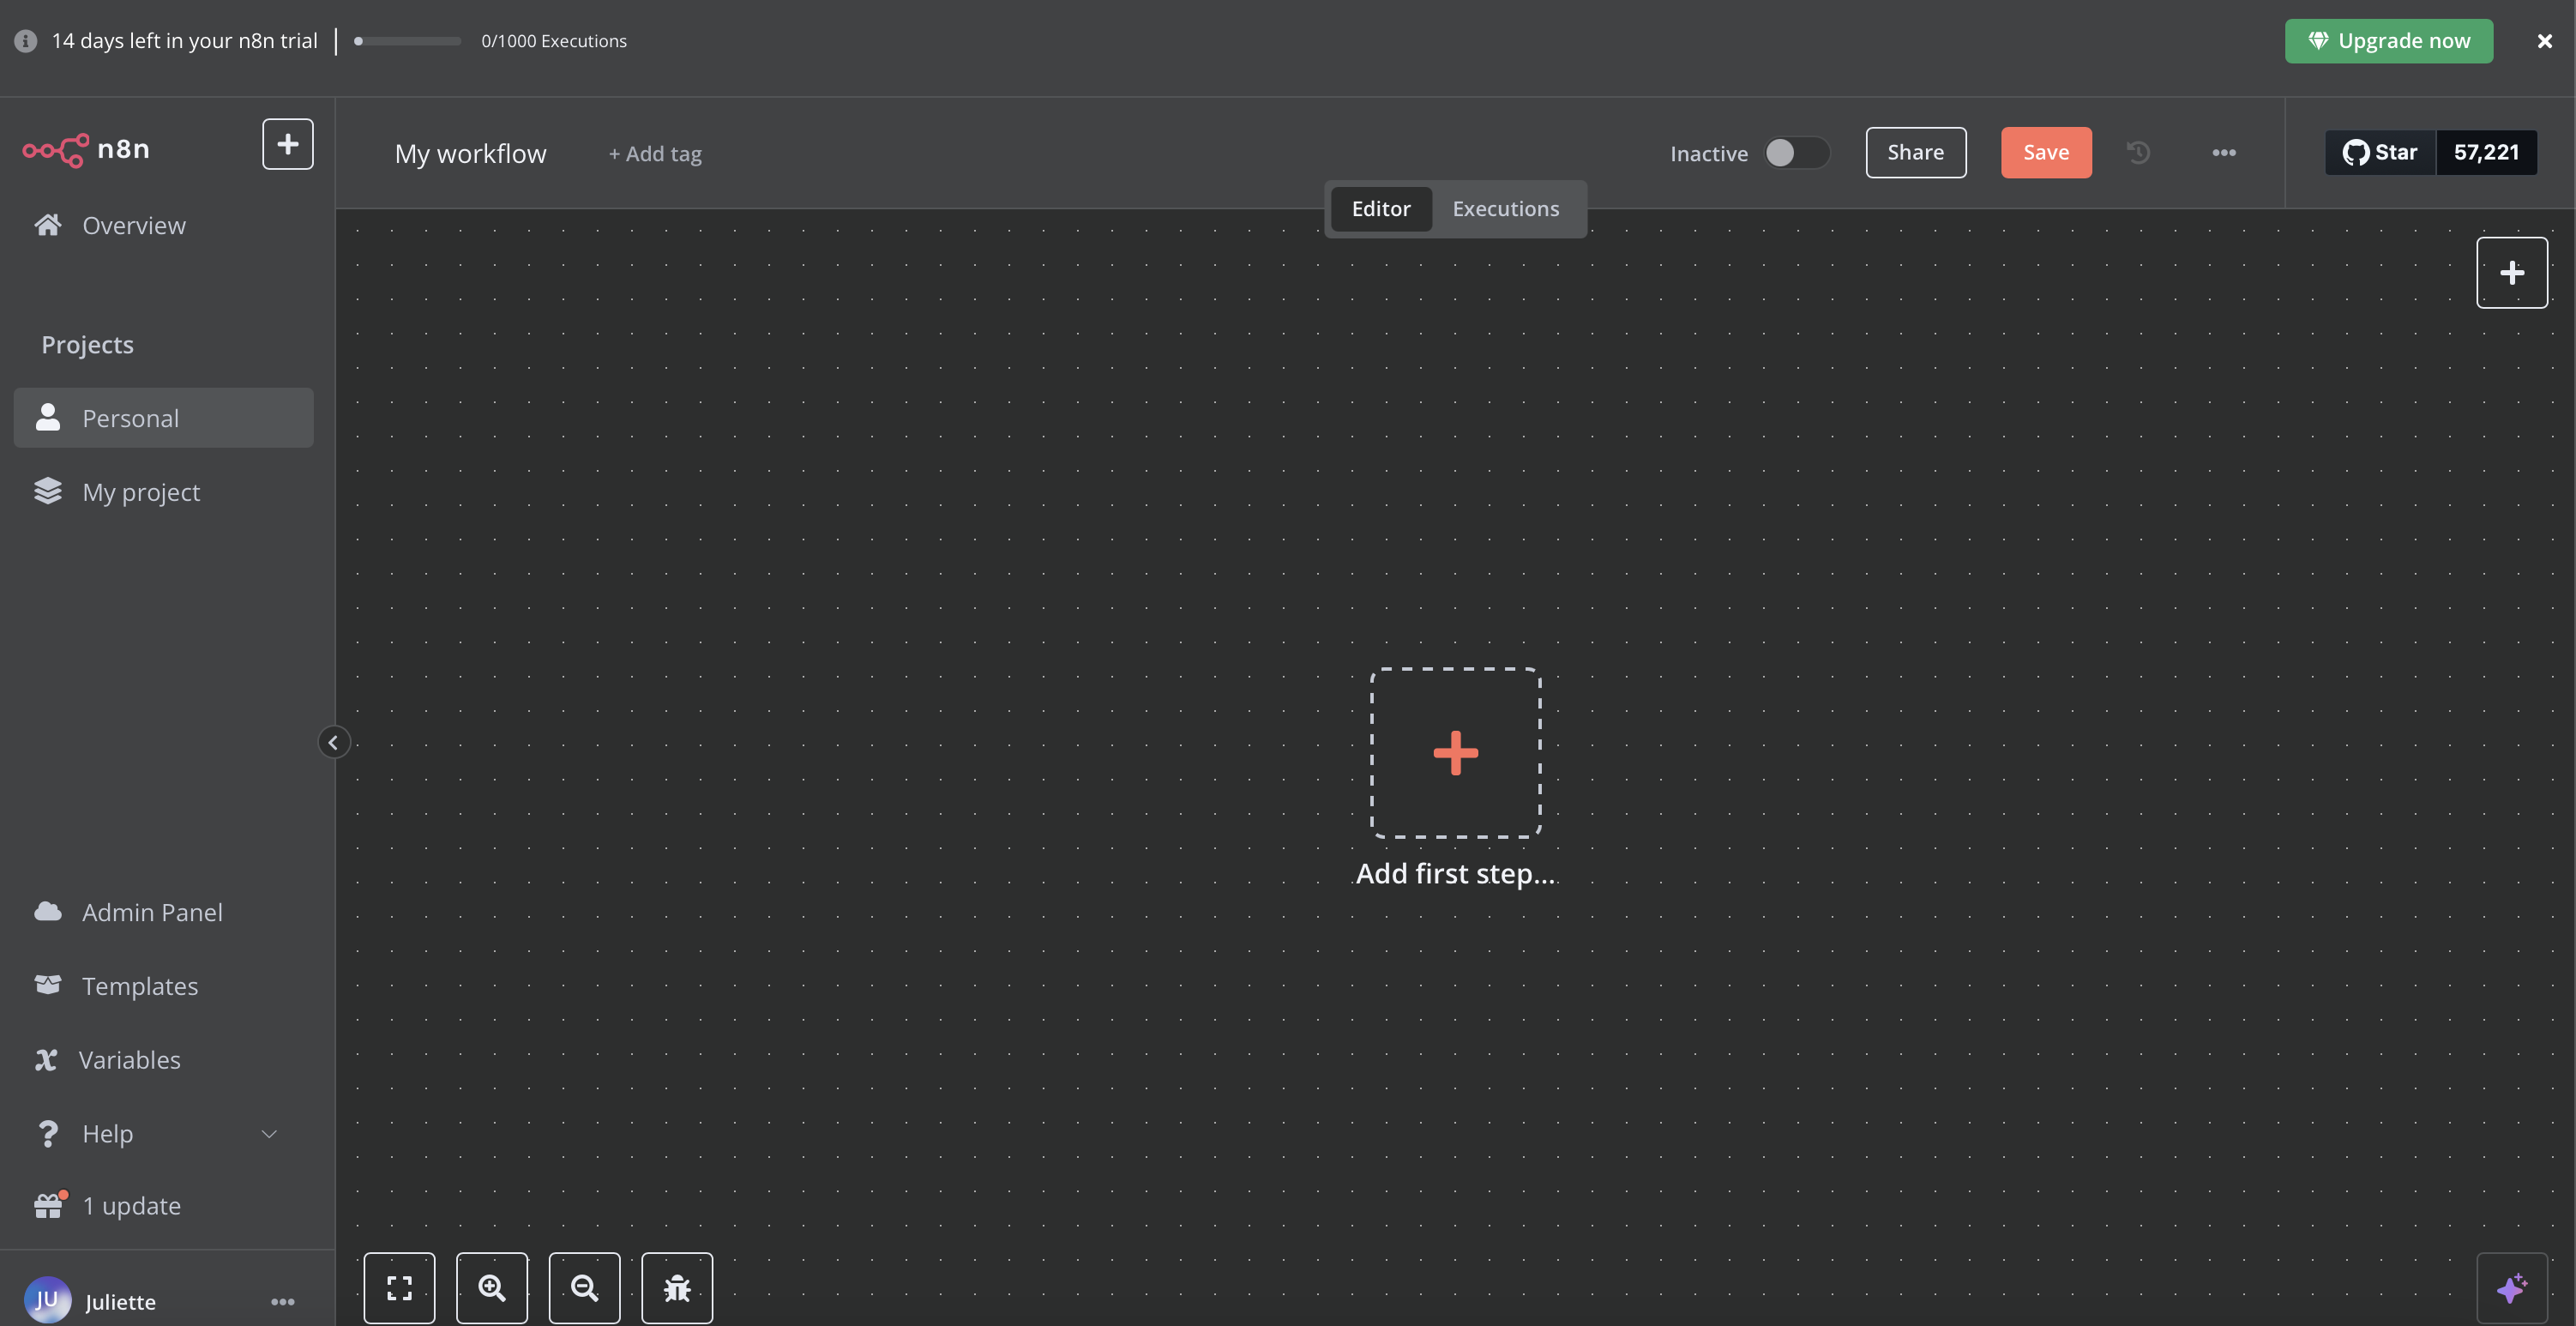

3
Select your trigger
Choose your trigger (Trigger Manually is selected in this example)
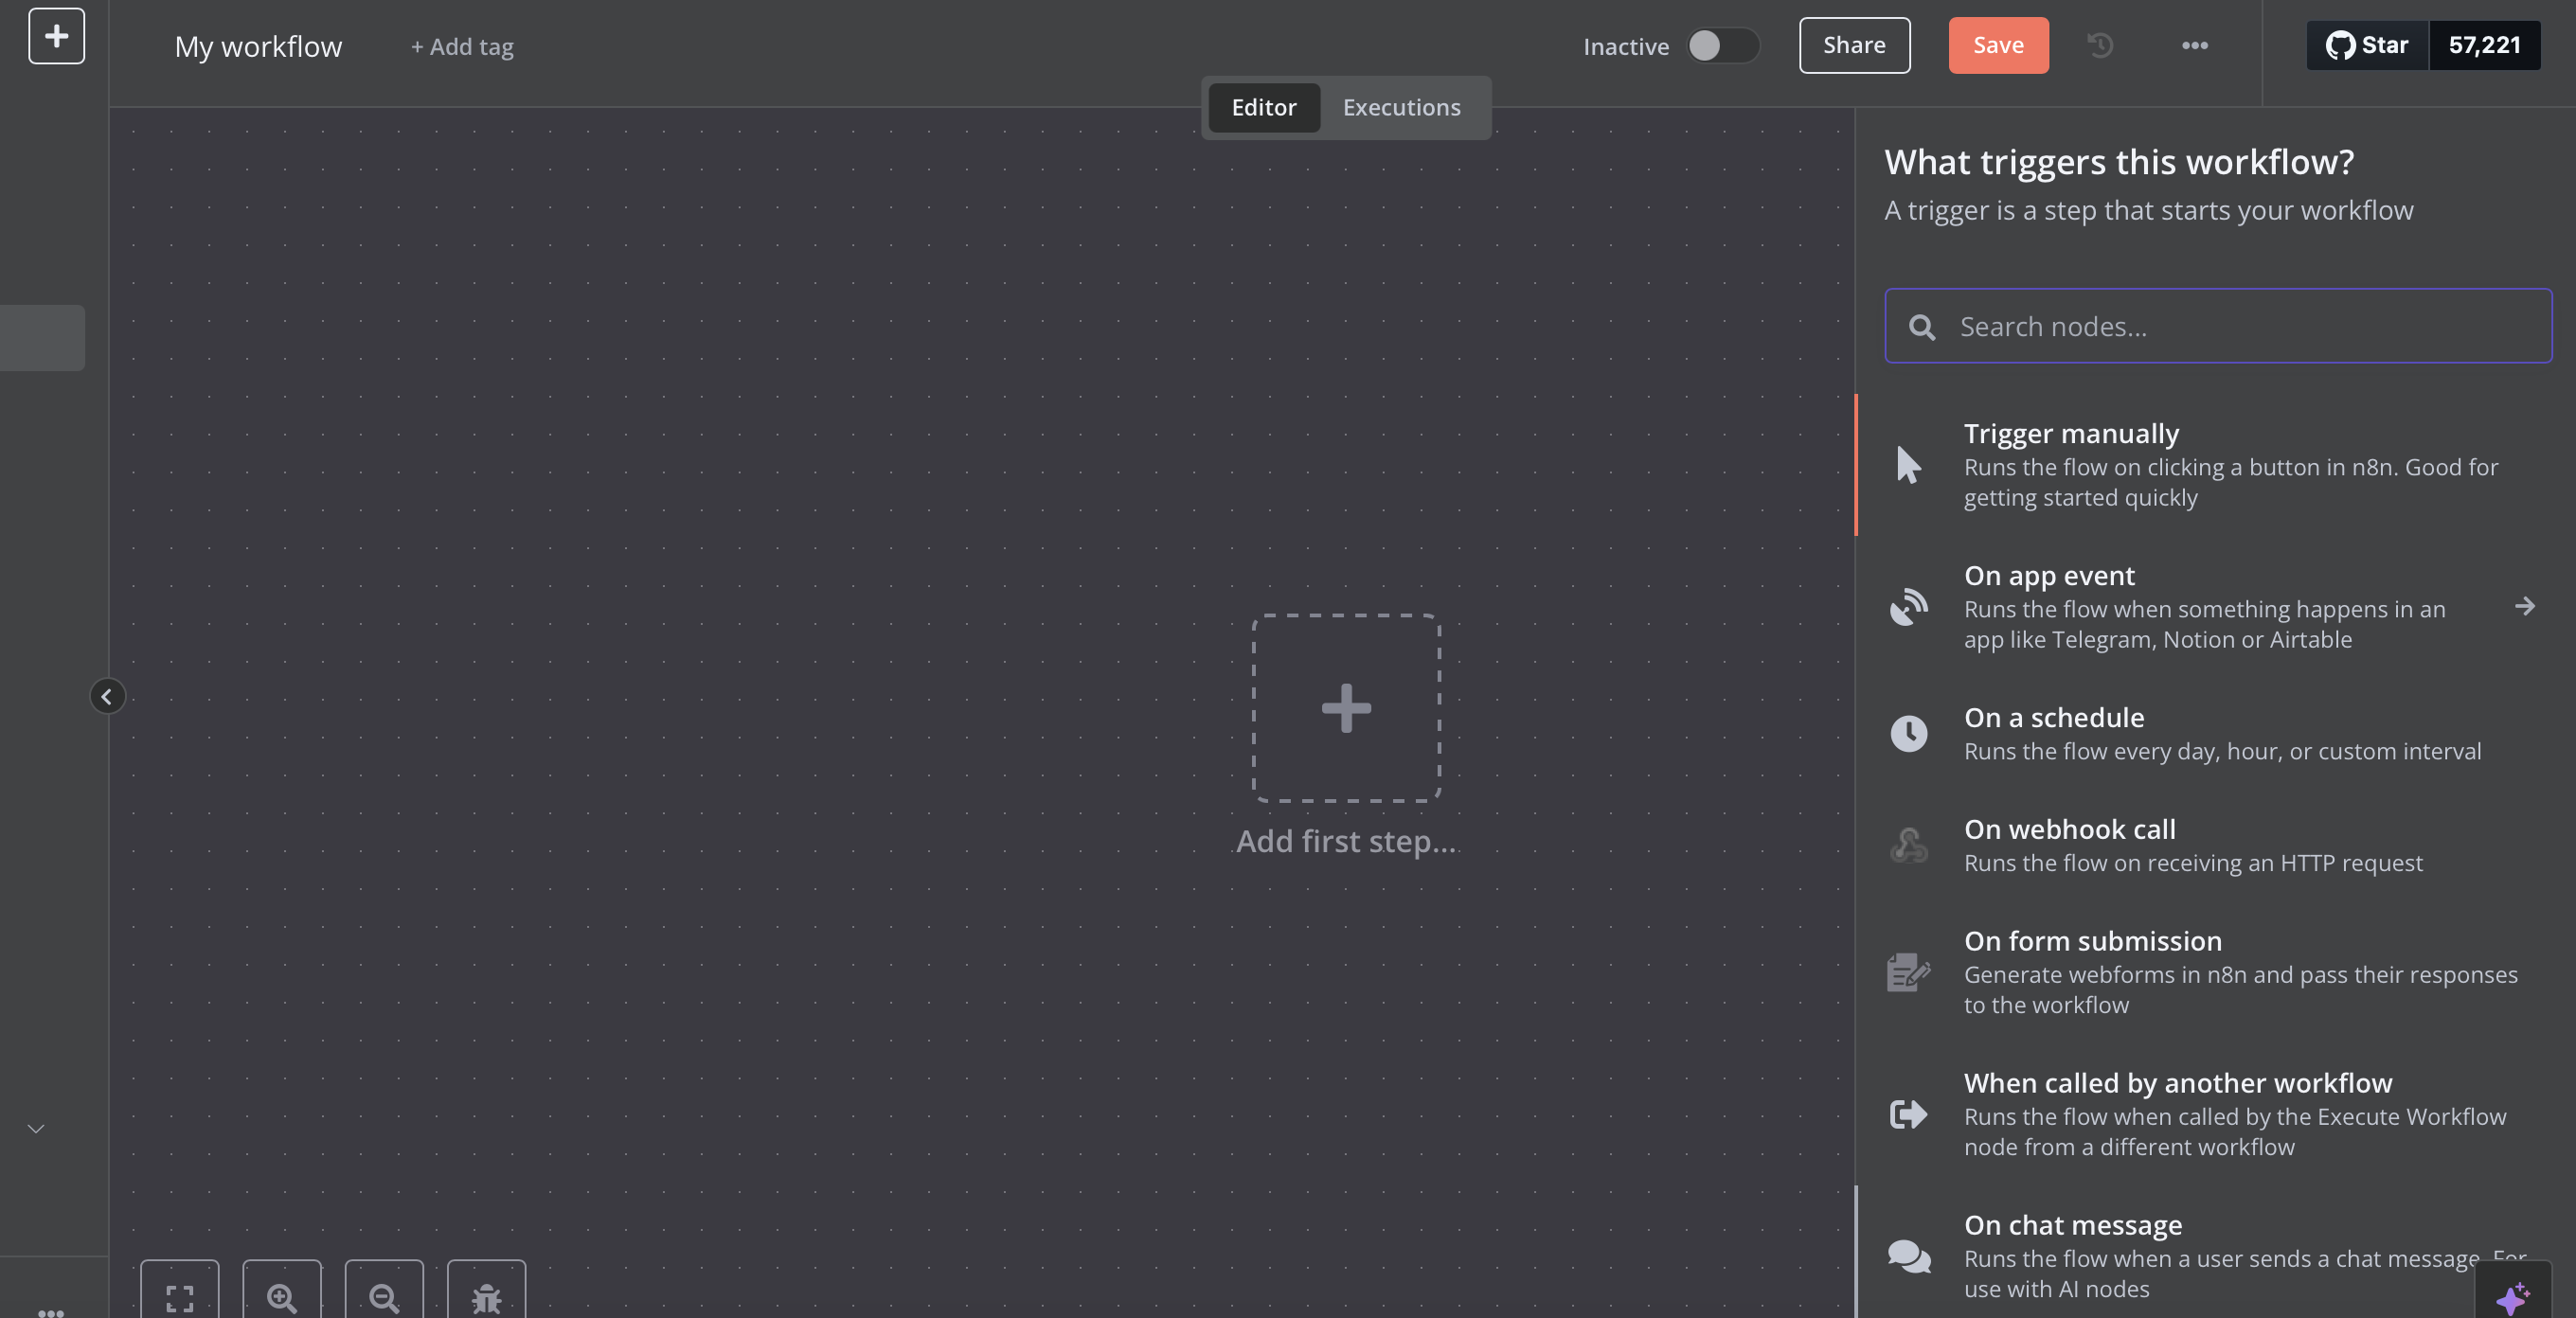

4
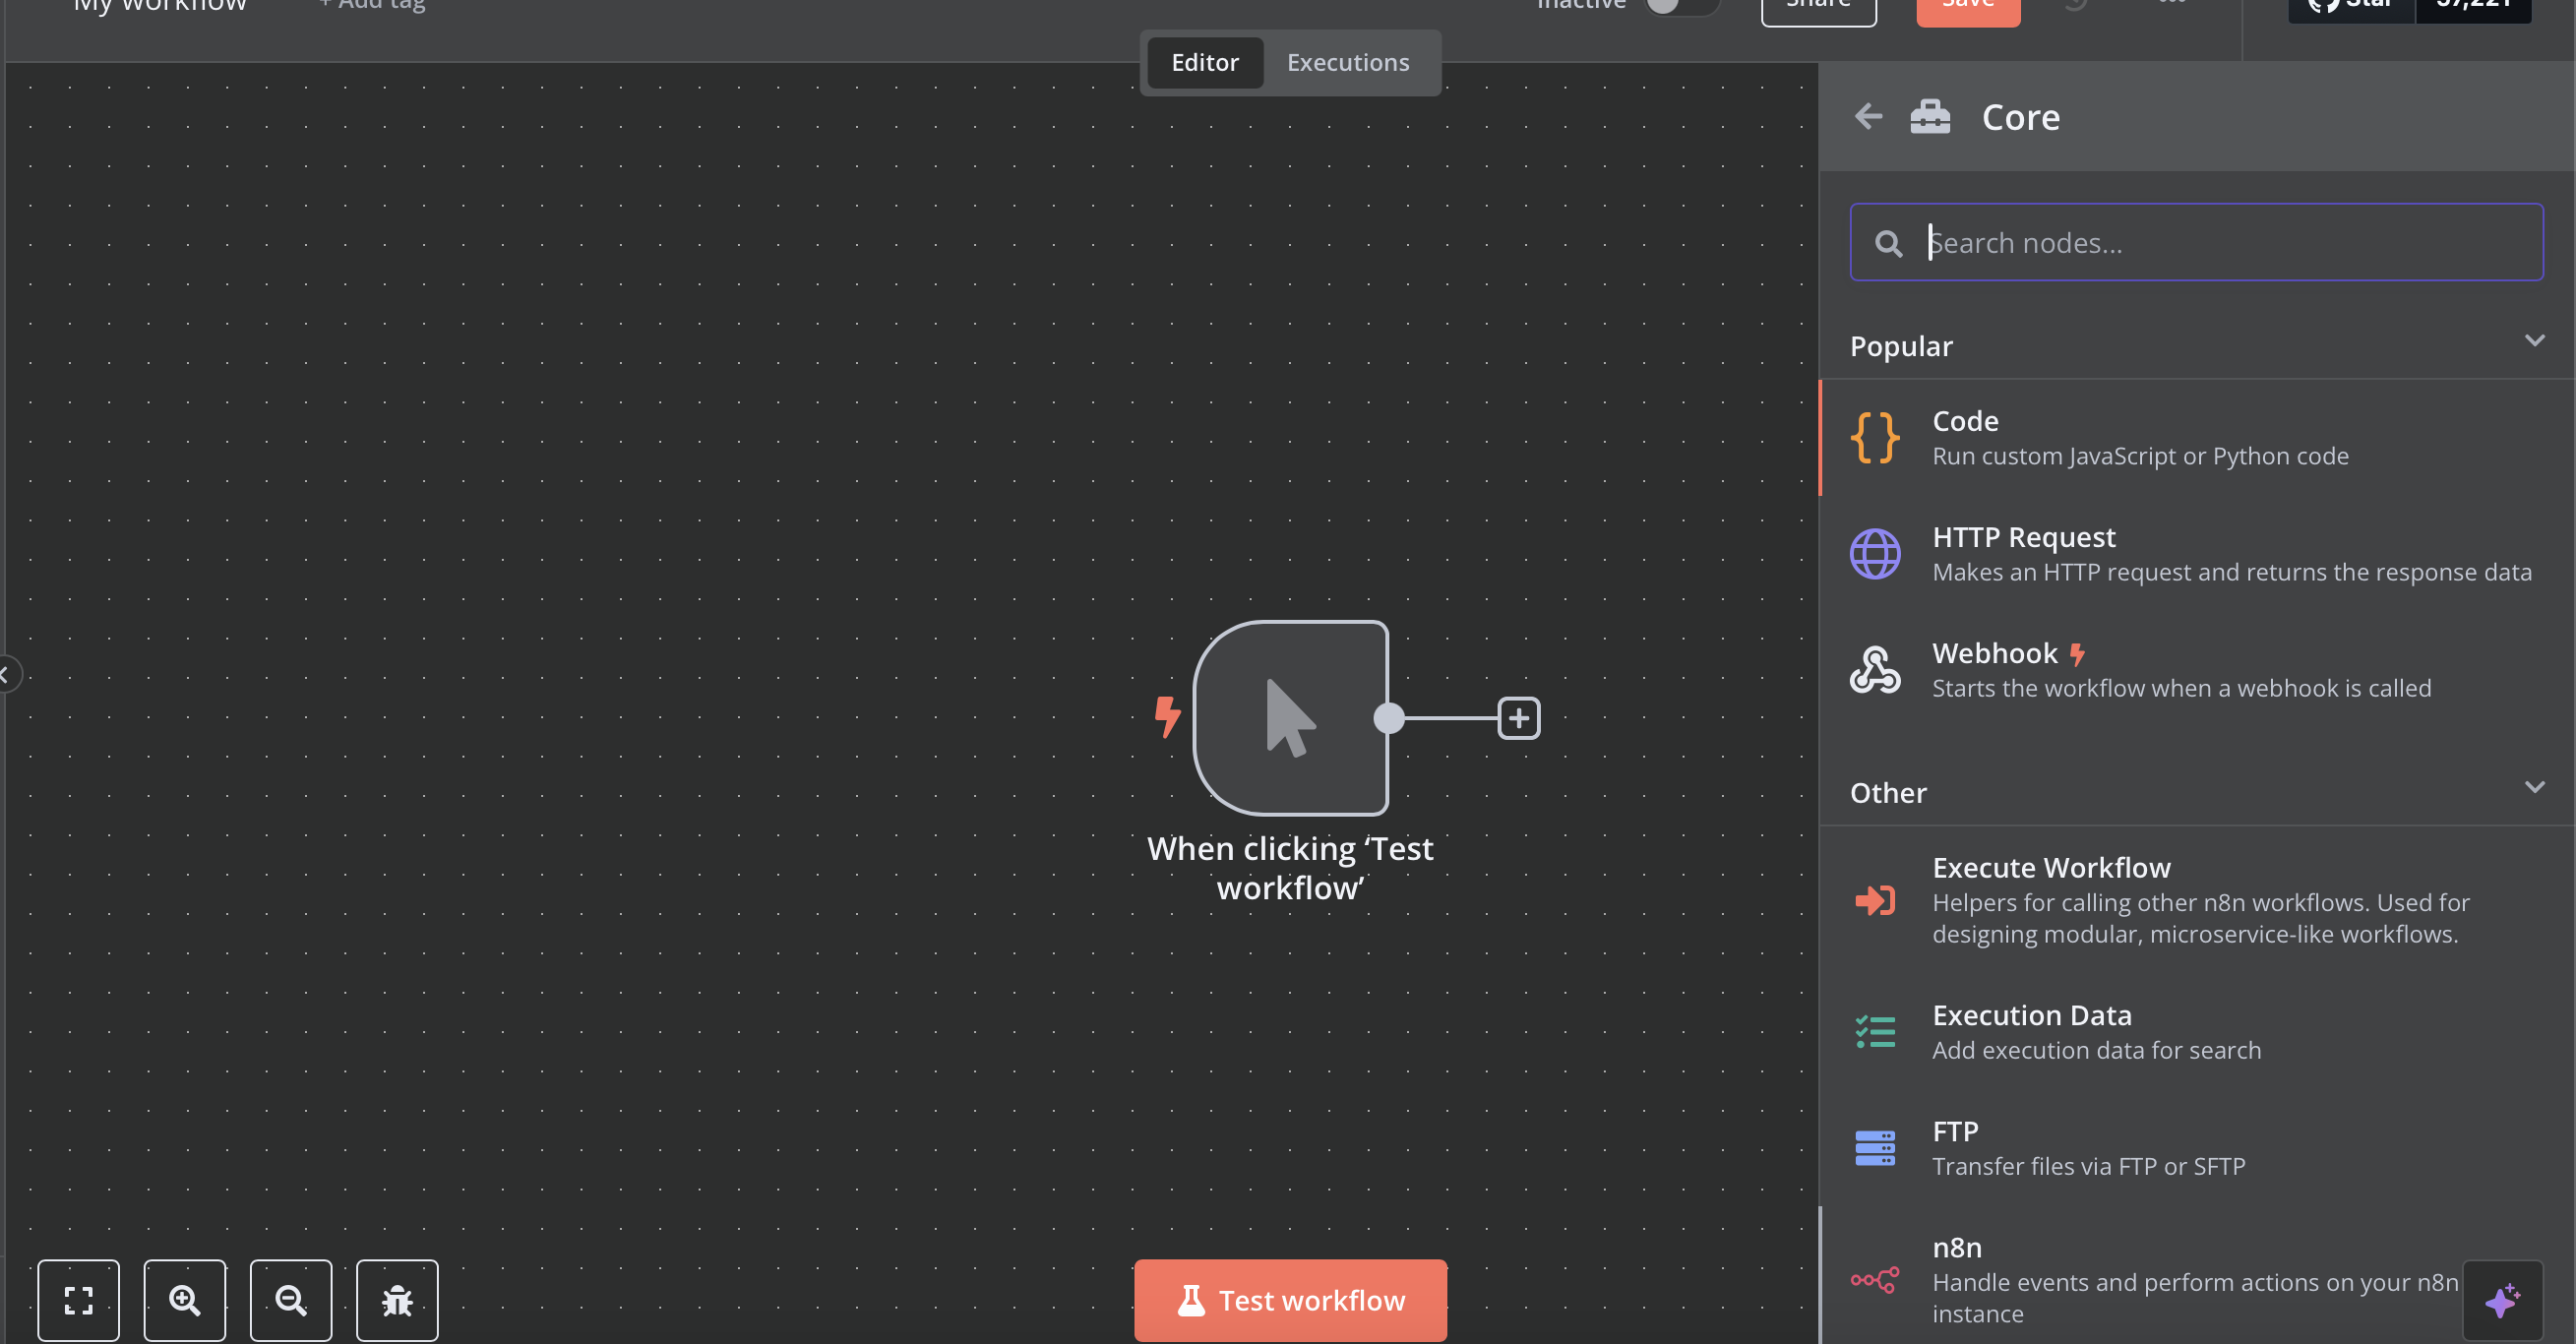
Add HTTP Request node
Click on the + button > Core > HTTP Request
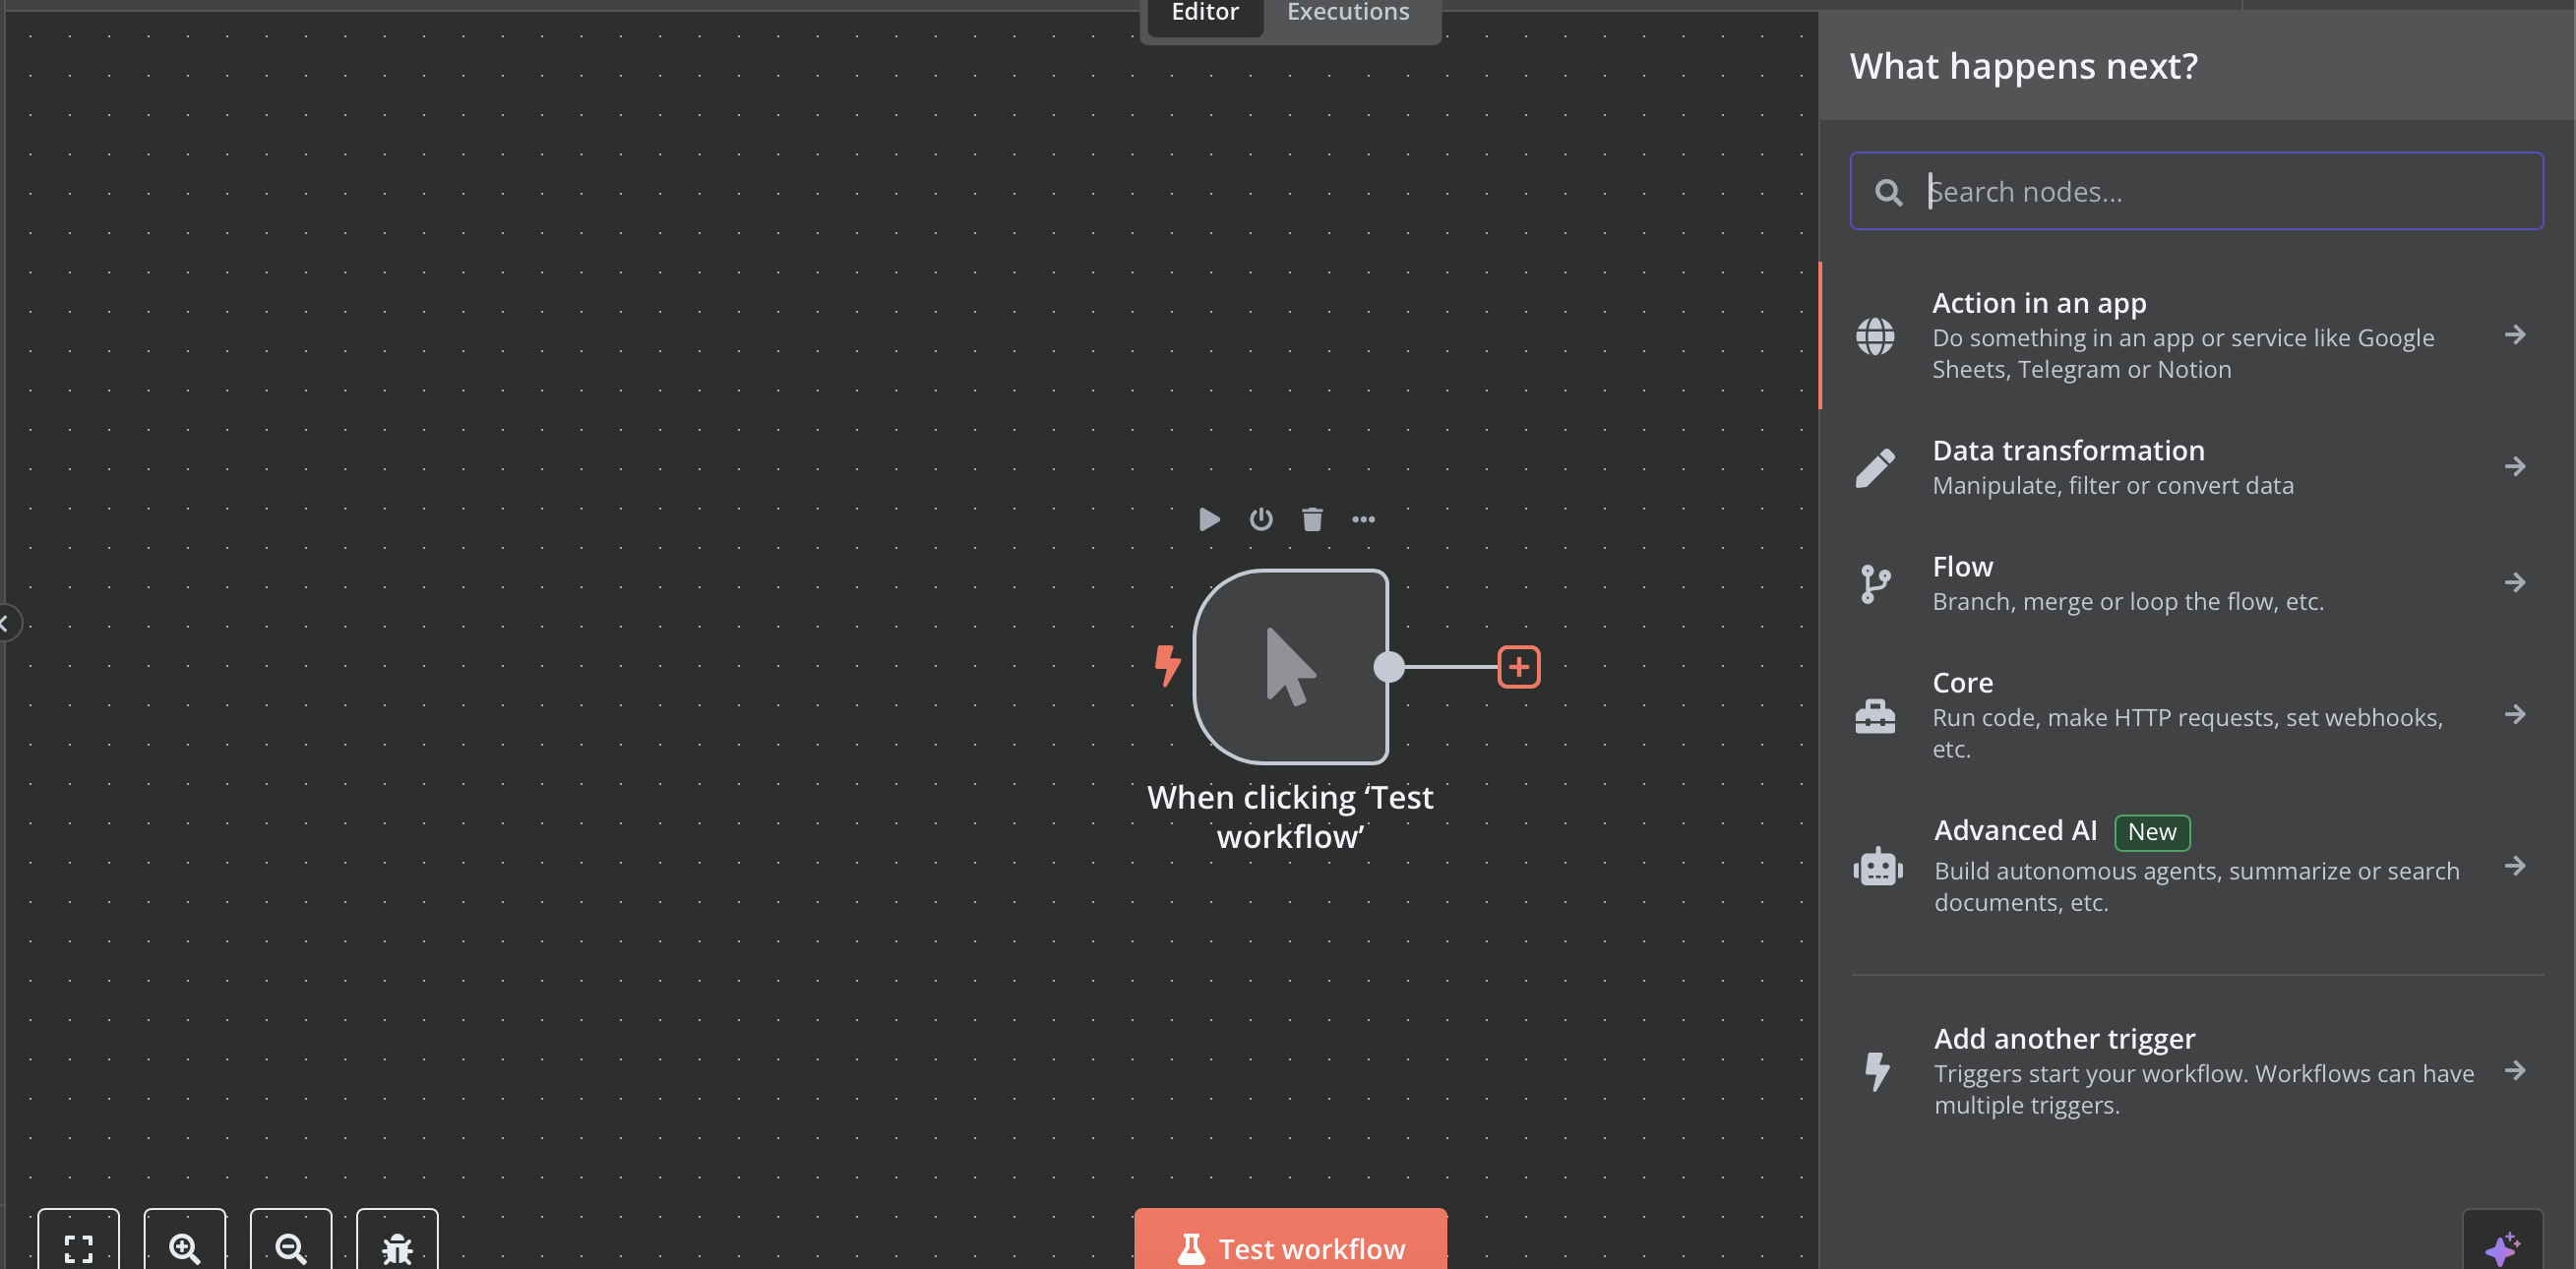


5
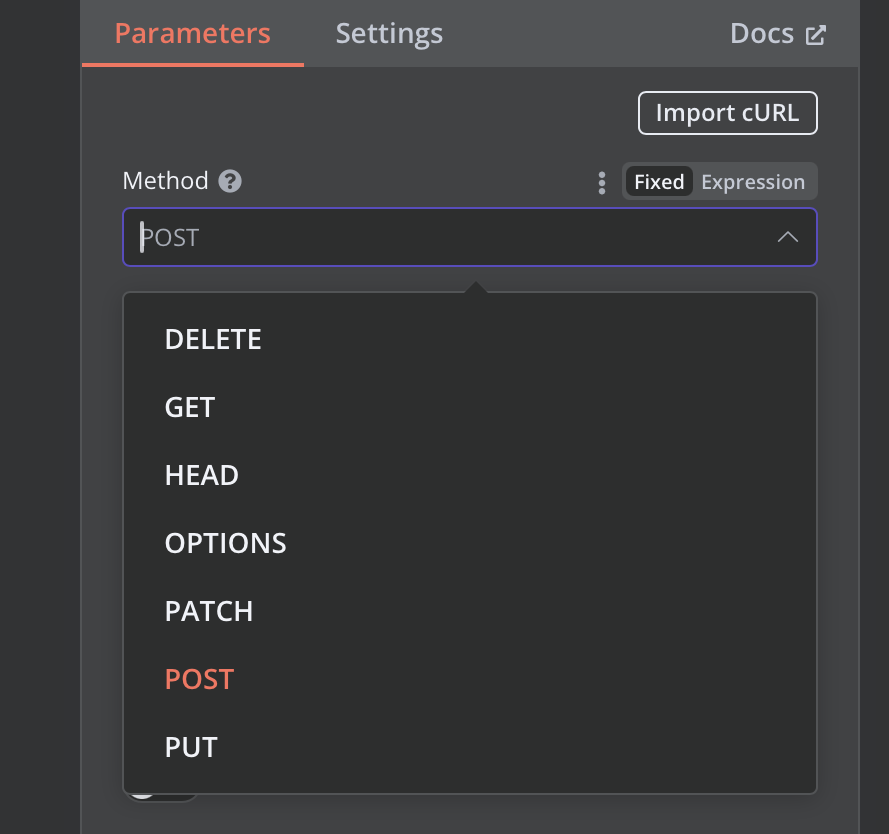
Configure HTTP method
Select POST as Method

6
Enter API endpoint
Enter 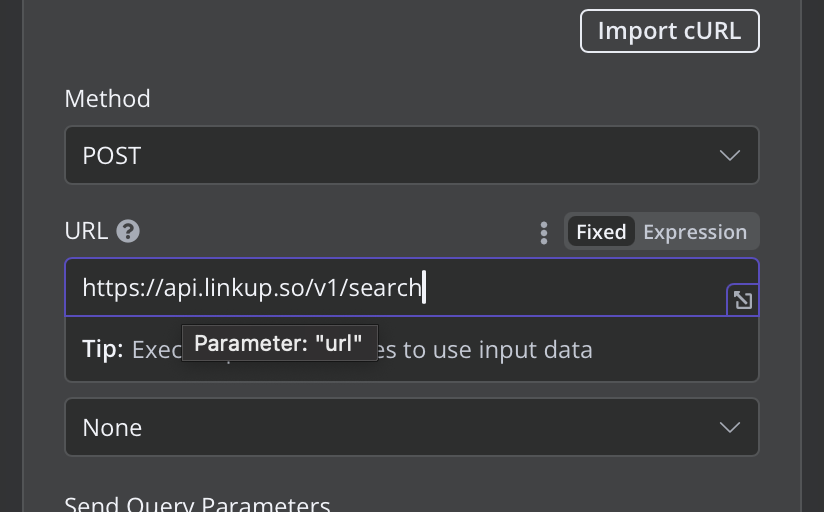
https://api.linkup.so/v1/search in URL

7
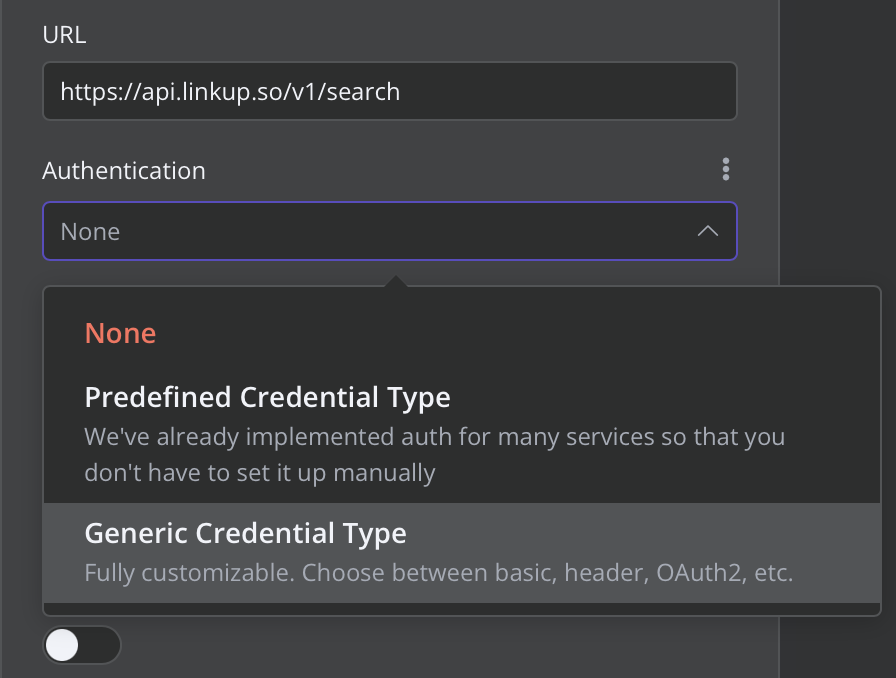
Set up authentication
In Authentication, select “Generic Credential Type”

8
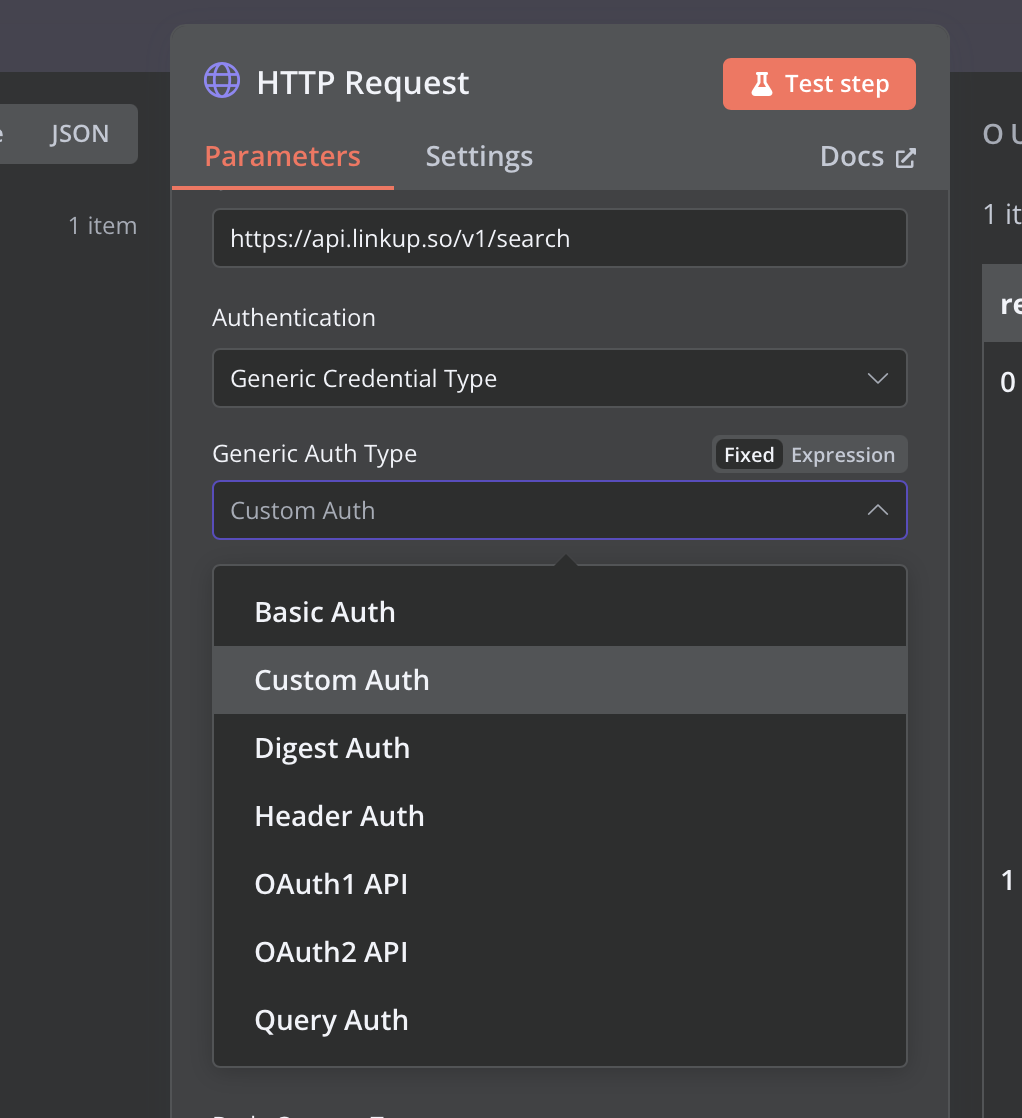
Configure custom authentication
In Generic Auth Type, select “Custom Auth”

9
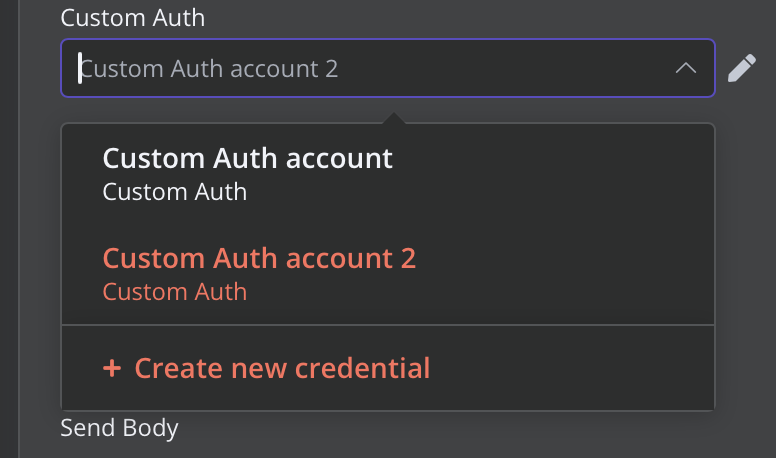
Create new credential
In Custom Auth, click on ”+ Create new credential”

10
Add authentication headers
Copy the following Json and paste it in the pop-up Json field
json

11
Configure API key
Replace the
YOUR_LINKUP_API_KEY in the code snippet you just paste. Click on the top right “Save” button.Get your API key
Create a Linkup account for free to get your API key.
12
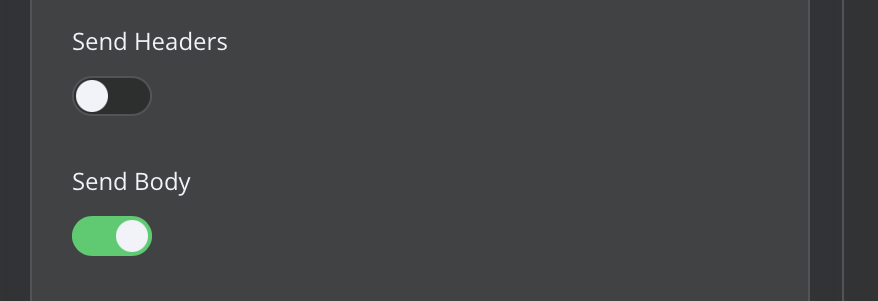
Enable request body
Toggle on “Send Body”

13
Configure request parameters
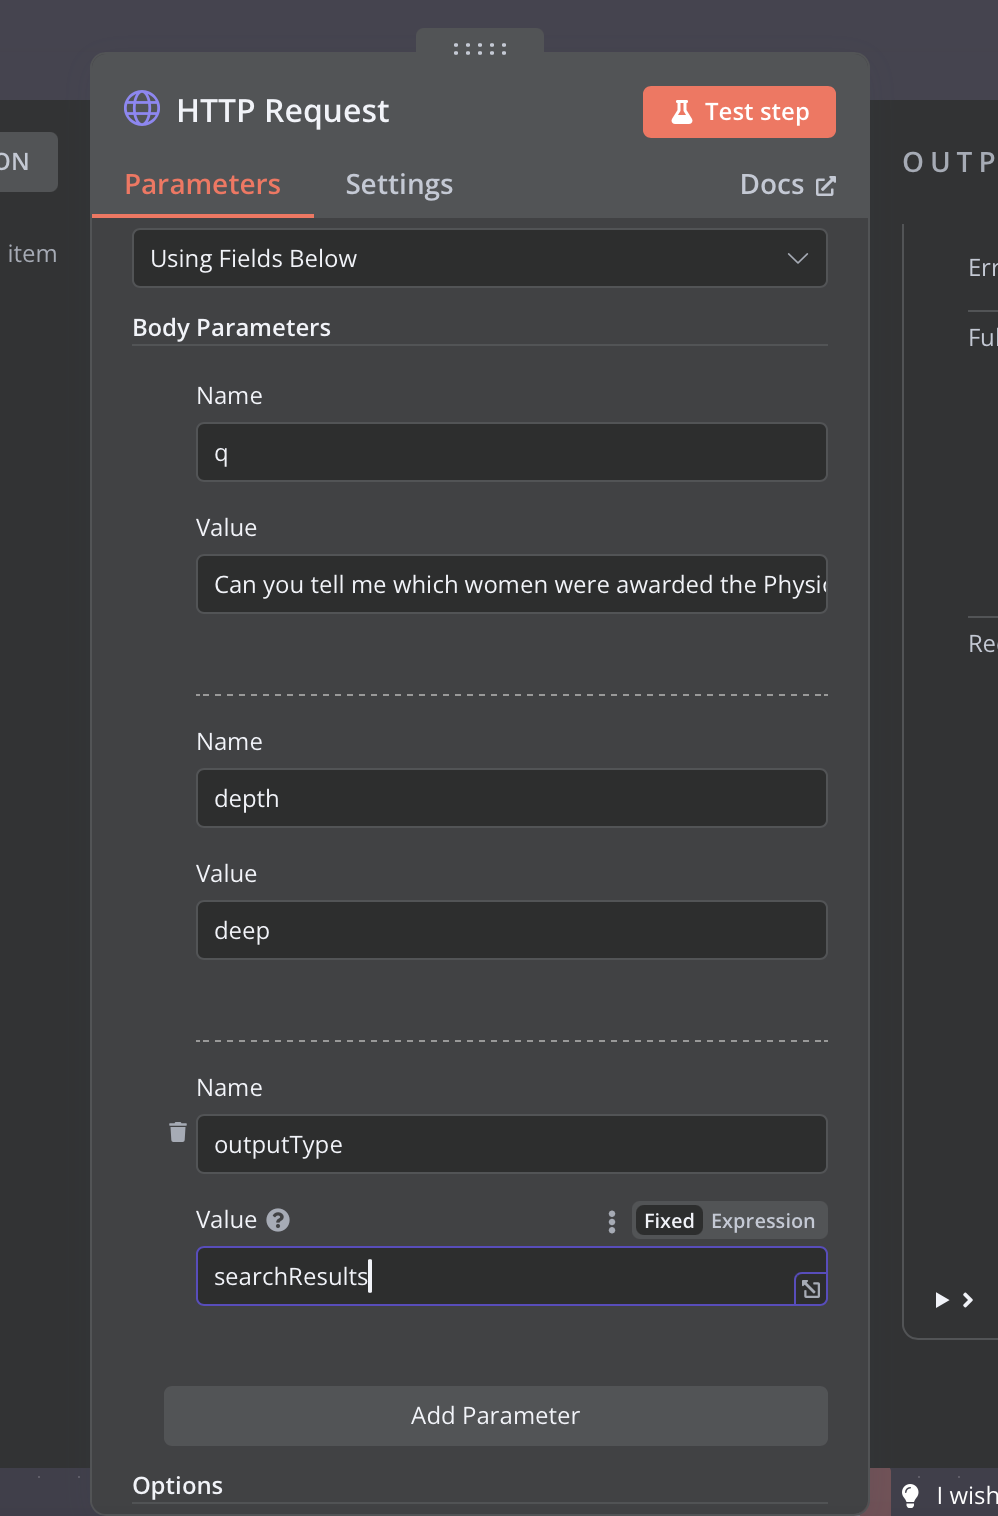
Add the following body parameters
 Save and run your workflow.
| Name | value |
|---|---|
| q | your query |
| depth | ”deep” or “standard” |
| outputType | ”searchResults” or “sourcedAnswer” |
 Save and run your workflow.
Facing issues? Reach out to our engineering team at support@linkup.so or via our Discord or book a 15 minutes call with a member of our technical team.

